.

.

.
Showing posts with label tutorial. Show all posts

Friday, September 12, 2014

kerning is tough - practice


Kerning can be a pain! I am right in the middle of a logo designing project and I am getting cross eyed and brain wrecked trying to get the letters neatly lined. It is challenging and fun, but a pain! 

Here is a fun way to practice the art of spacing.


(Screen shot from Kerntype, the kerning game)


It is Friday! Hooray! Hope you'll have a great weekend!


Friday, August 8, 2014

my lettering process


I have the honour of making letterings for Kyrkpressen, a Christian weekly paper in the Swedish speaking part of Finland. Every week I get a text with thoughts on faith and life. Every week I get to interpret the text into a lettering. I've made my firsts ones, got nine more to go. It requires thought, a lot of drawing and making mistakes. At least for the first one.

I want to show you how I work, what my process is like. Note: this is not the lettering that appeared in the paper, this one I rejected. I get to decide which one I want in print.

Firstly I sketch my ideas with pencil, mostly in my notebook or just on ordinary printer paper. I mostly sketch free hand, but this one needed a grid.


Then I used tracing paper, a semi transparent paper, to make a first pencil drawing of the letters with the details I wanted. I chose to draw Lily of the valley as decorations on the letters. I'll tell you more on why I chose a flower later.


I was happy with the pencil sketch so I used a second tracing paper to trace my letters with ink.


I mostly vectorize my letterings. That way I can change the size and smaller details or kerning. I do not start from scratch drawing the letters in Illustrator, I use Image Trace on my drawings, (with some work in Photoshop before opening the project in Illustrator). It is a very time consuming job, but I like the process.

Here is the first coloured draft. Växt-styrka is growing strength in English. I noticed the dots on the Ä, second letter from the upper left, were not obvious enough, so I remade them.


But then I hesitated because "växt-styrka" is not a real word in Swedish, so I remade the whole second part of the word into "kraft". Växtkraft (growing power) is a more common word.


I really liked how the letters looked in the "växt-styrka" version. More exspressive letters and better flow in the layout. I am happy with the result, but I did not want it in the paper so I drew a whole new one for that.

I chose Lily of the valley because in flower language the flower stands for woman power and innosence. Also "I´ve loved you from the first time I saw you" and ""Get to know me before you judge me". To me these meanings go well with values on growth in a Christian sence.


Here is the lettering I sent off to be printed in the paper:


I have not seen the paper myself, since I live in Sweden, but soon enough I can read it on the web. Here is the archives for the past papers. The lettering says: "God - burning letters or a still breeze". The lettering is based on a text written by Mia Anderssén-Löf, who is a pastor in the Lutheran Church in Finland.


Hope you enjoyed taking part in my process. Please, do not hesitate to ask if there is something you-re wondering about when it comes to lettering!


Saturday, July 5, 2014

make a book DIY (crafting with kids)


This is an easy, fun and fast DIY with the kids. I loved making books as a kid. Me and a friend sat in the sauna (a cold one I need to ad!) and drew cartoons in our home made books. We mostly drew Teenage Mutant Ninja Turtles. Oh, those were the days!

The first steps of this DIY I drew. The final step, binding the book, is up to you, how you wish to execute it. Use thread and start weaving through the holes. My kids did it one way, I did it another. Be creative!


(An extra picture of my daughter Magda crafting. She loves it and she is very talented as well. She inspires me!)


Summertime is great time for crafting, either indoors or outdoors. Hope you all have a fine summer!


Saturday, June 28, 2014

personal stamp DIY


I really like making stamps! For a wedding project in December I bought a piece of rubber and a set of lino cutters. Had some leftovers after the project was completed and started exploring making different designs. My biggest and most detailed to date is the logo for Fia Lotta Jansson Design. It is not perfect, but I like it!

Here is a simple step by step how I made the stamp.


I printed a mirrored version of my logo. A very important step if you want to get it right from the start!


I traced the lines of the logo by using an x-acto knife. I taped the template to the rubber piece to keep it in place.

If you scroll down I show you how to trace a design with a ballpoint pen.


And a picture of the traced lines.


The skeleton of the paper template.

Time to take out the cutter. I do like this tool. I've cut myself a few times though, so I highly recommend you not to stress the cutting part. Take the time and know what you are doing!

This tool is not expensive, I paid under 100 SEK for this set.


Getting there!


And done! I am very happy with the result!


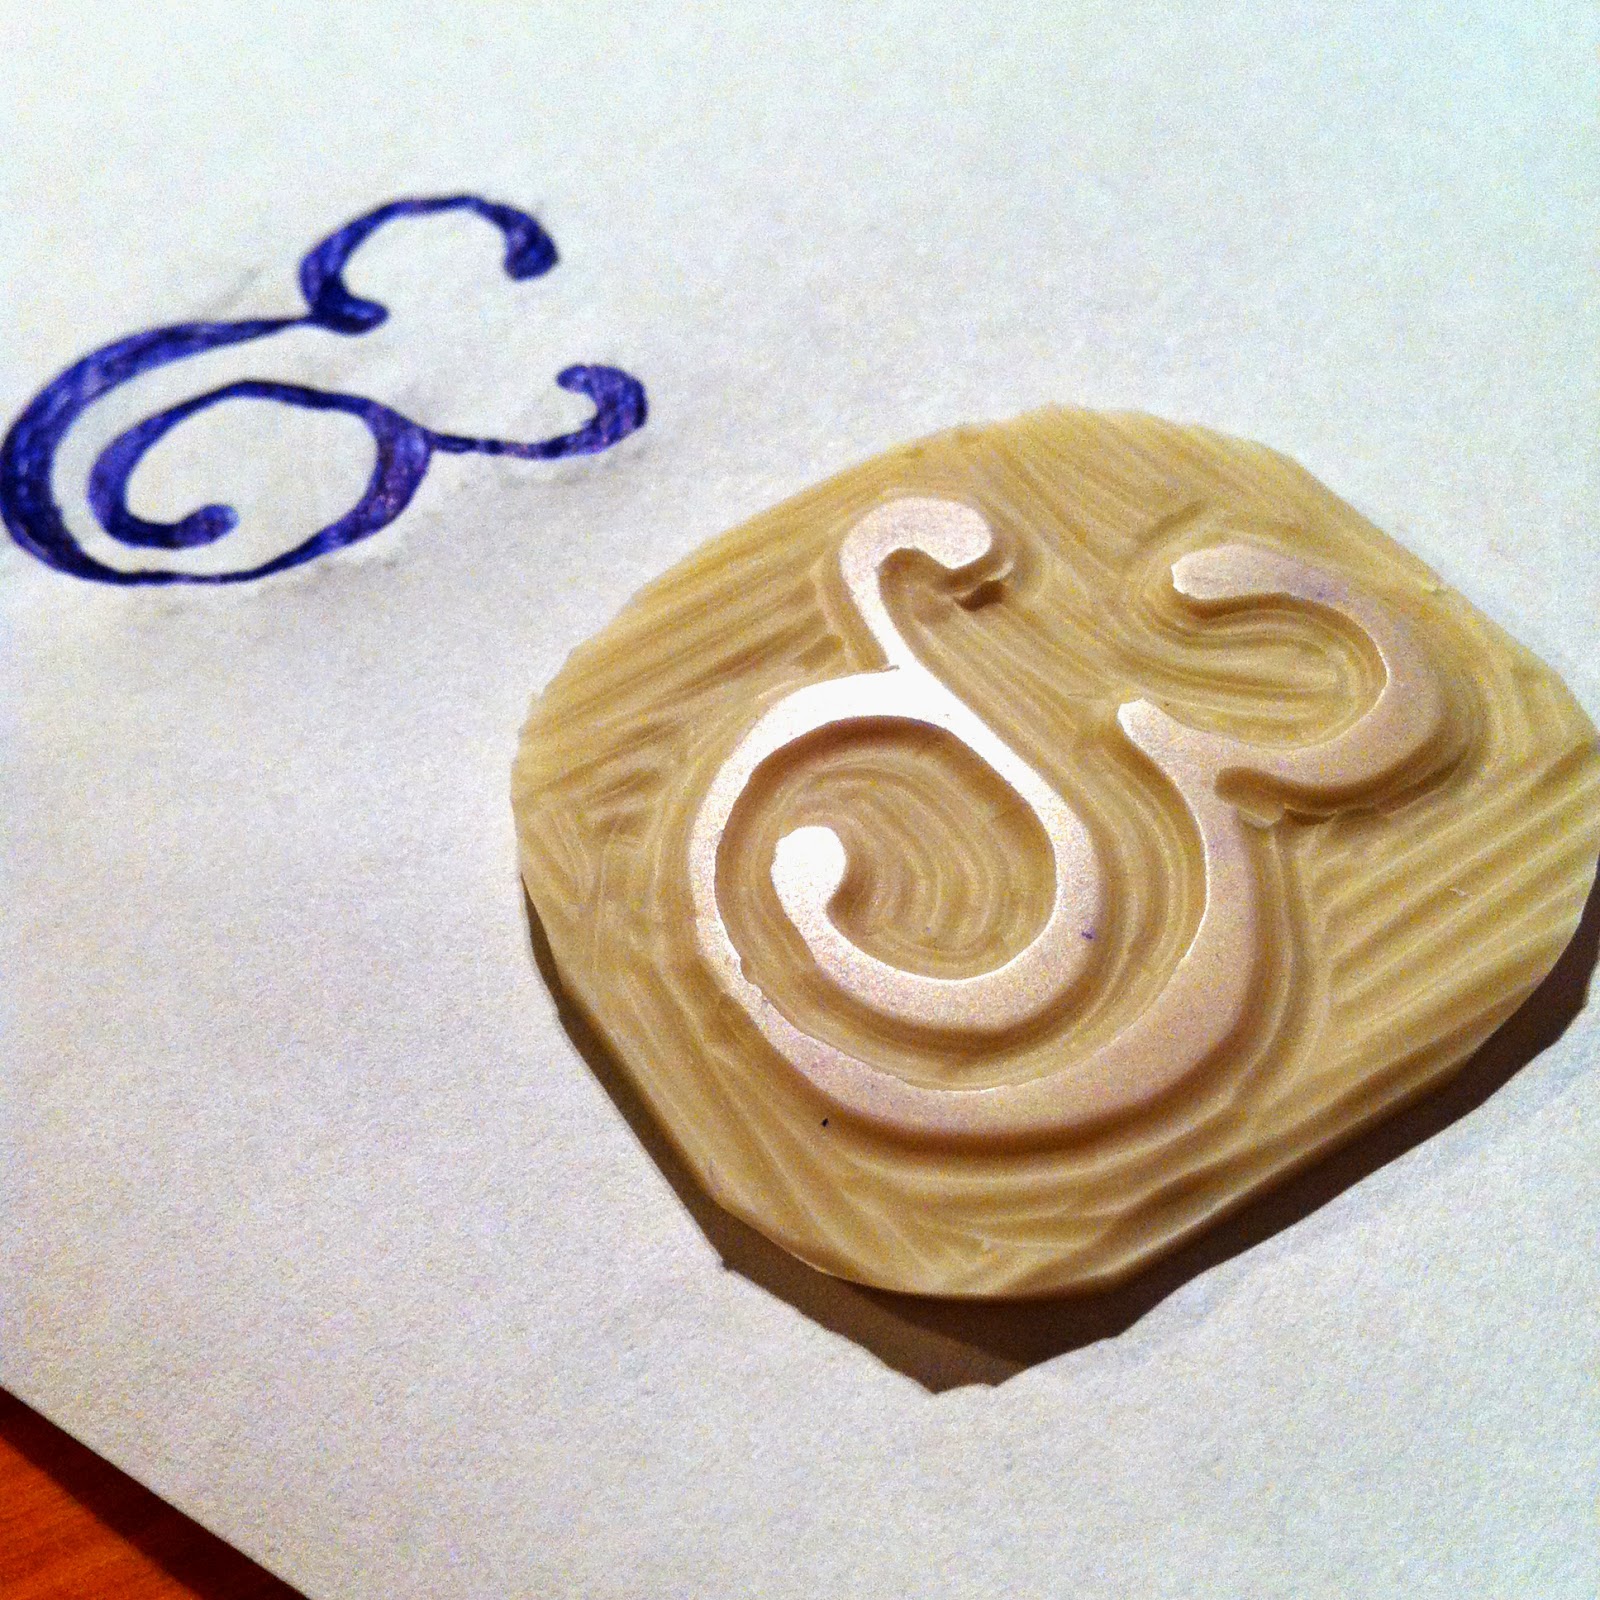
Here is another smaller stamp I made. For this one I drew an ampersand with a ballpoint pen, thoroughly filling the lettering with ink. Then I placed the paper over the rubber piece, ampersand facing down. Once again I used the ballpoint pen, but this time to ink the backside of the paper where I had drawn the ampersand. This way I traced the lettering onto the rubber. If you look closely you may notice that the paper look "rubbed" around the edges of the ampersand. The lettering came off mirrored on the rubber piece and I could get to carving right away.


Here I drew right onto the rubber with a ballpoint pen. The ink from the pen sticks best to rubber, at least to my experience.

Give stamp carving a try! It is really fun to customise your own stamp. Maybe a new hobby for your vacation? You can find all materials in a craft store.

All the best!


Sunday, April 7, 2013

DIY framing fabric


Here is a picture show on one of my latest DIY's. The children's room is like an echo chamber because there is nothing hanging on the walls. There is no curtain pole over the window, so while figuring out how to attach one to the stone wall so I can hang some fabric I try create something else to swallow noise.


Fold twice before pinning the fabric to the frame.


Pin the fabric in this order to get an even stretch to the fabric.


The fabric is one of my favourite thrifted bed sheets. Lots of fabric enough for lots of DIY projects! Me likes!


Saturday, April 6, 2013

DIY giant pearls garland


I found another bag of ball pool balls, this time in lovely pink-red-purple shades. (As you can see I did not have to spend a fortune on getting some balls:)

This called for a DIY project for the children's room. I'll let the pictures do the talking!


Done! More pictures of the children's room will show up soon.