


I really like making stamps! For a wedding project in December I bought a piece of rubber and a set of lino cutters. Had some leftovers after the project was completed and started exploring making different designs. My biggest and most detailed to date is the logo for Fia Lotta Jansson Design. It is not perfect, but I like it!
Here is a simple step by step how I made the stamp.

I printed a mirrored version of my logo. A very important step if you want to get it right from the start!

I traced the lines of the logo by using an x-acto knife. I taped the template to the rubber piece to keep it in place.
If you scroll down I show you how to trace a design with a ballpoint pen.

And a picture of the traced lines.

The skeleton of the paper template.
Time to take out the cutter. I do like this tool. I've cut myself a few times though, so I highly recommend you not to stress the cutting part. Take the time and know what you are doing!
This tool is not expensive, I paid under 100 SEK for this set.


Getting there!
And done! I am very happy with the result!

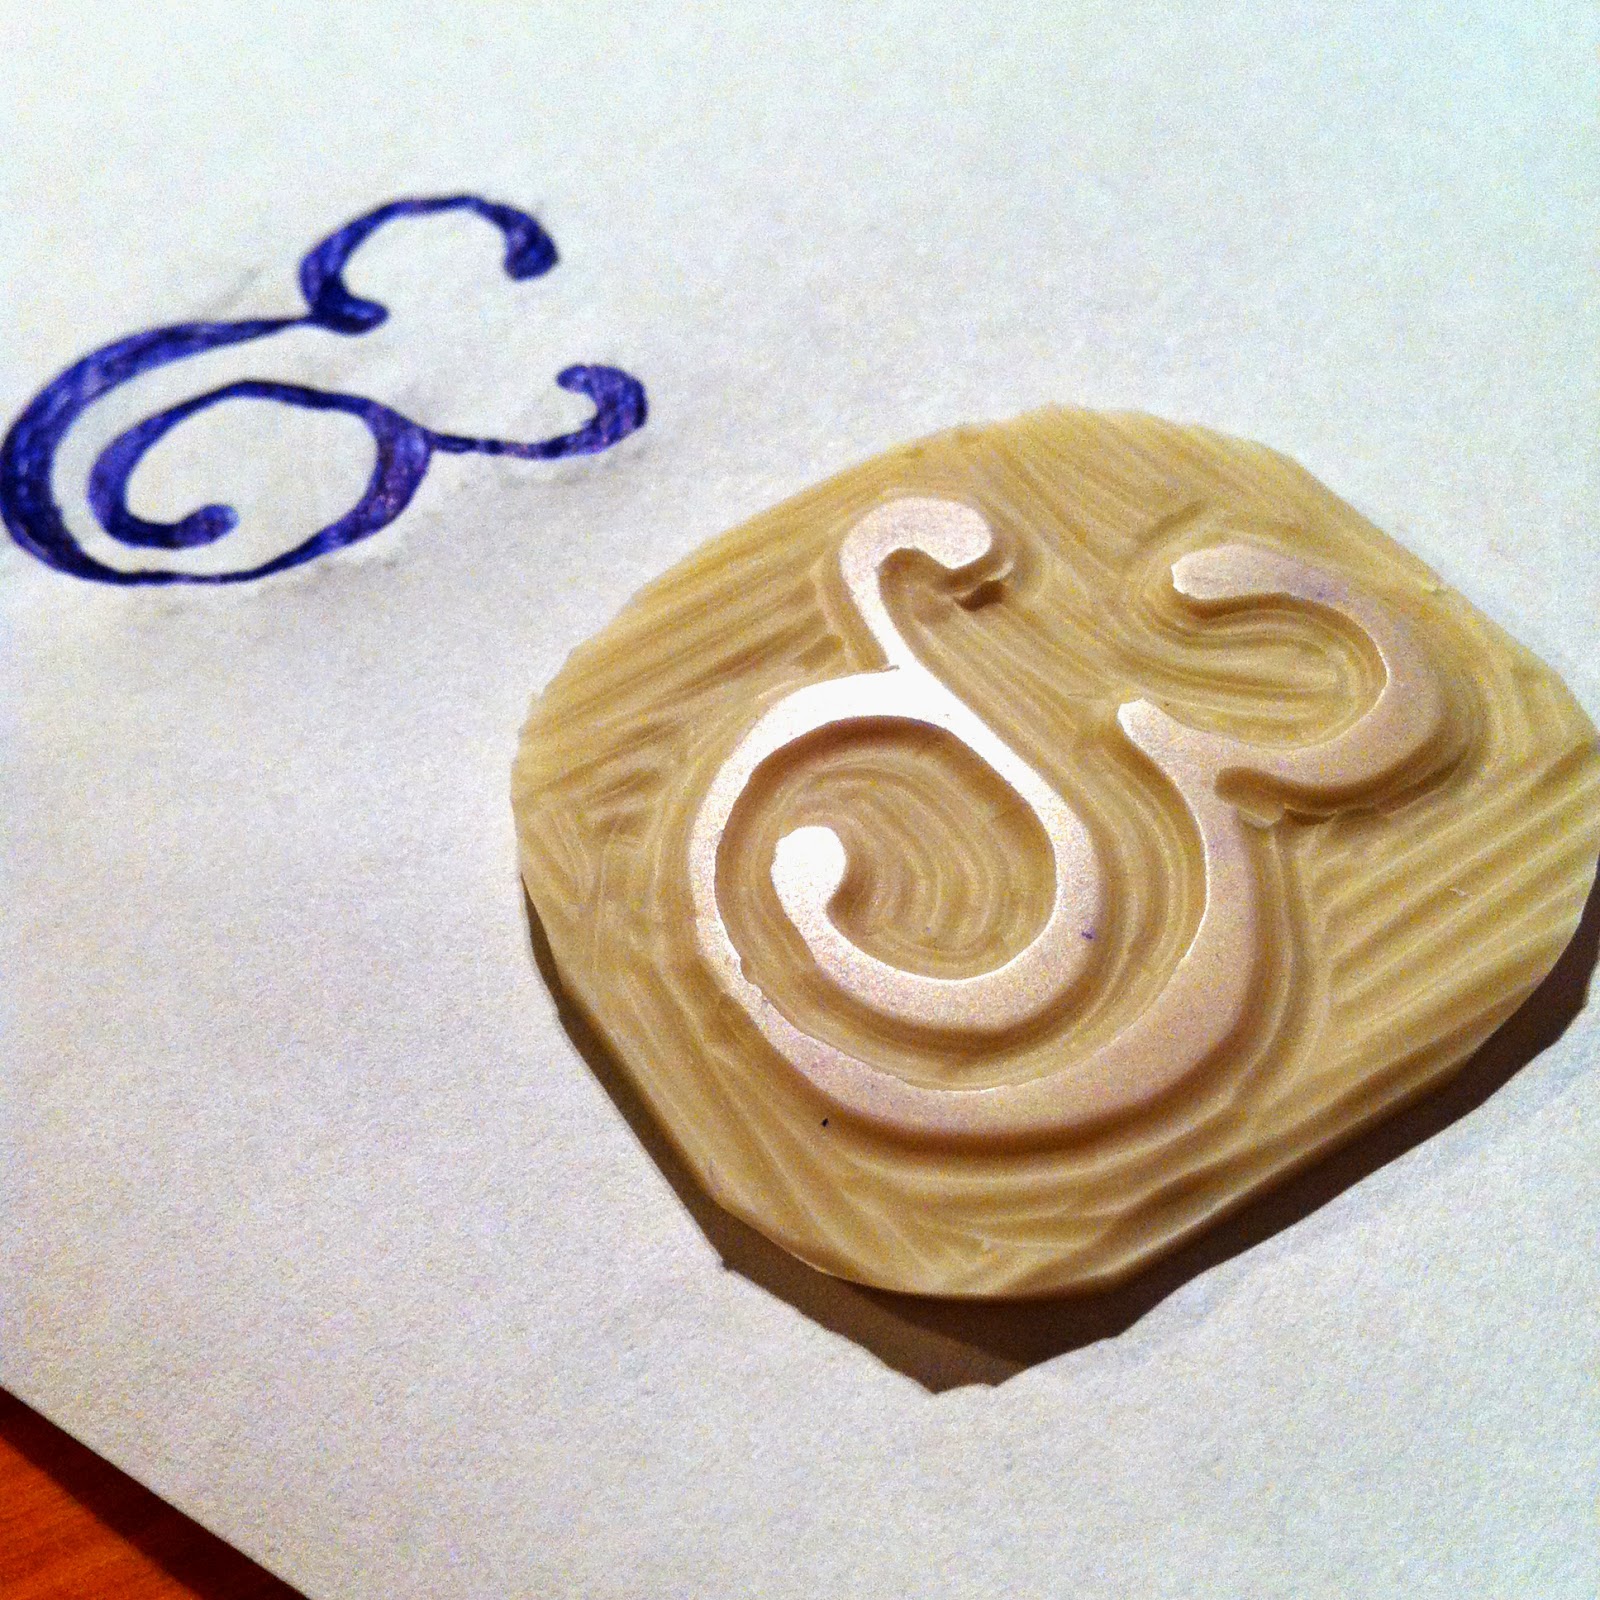
Here is another smaller stamp I made. For this one I drew an ampersand with a ballpoint pen, thoroughly filling the lettering with ink. Then I placed the paper over the rubber piece, ampersand facing down. Once again I used the ballpoint pen, but this time to ink the backside of the paper where I had drawn the ampersand. This way I traced the lettering onto the rubber. If you look closely you may notice that the paper look "rubbed" around the edges of the ampersand. The lettering came off mirrored on the rubber piece and I could get to carving right away.

Here I drew right onto the rubber with a ballpoint pen. The ink from the pen sticks best to rubber, at least to my experience.
Give stamp carving a try! It is really fun to customise your own stamp. Maybe a new hobby for your vacation? You can find all materials in a craft store.
All the best!


No comments:
Post a Comment